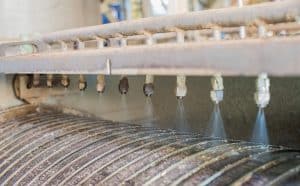
Properly Cleaning a Clogged Sprinkler Nozzle
 A thorough cleaning of your yard’s sprinkler heads can help you avoid countless problems throughout the year, such as clogging. A severe clog in your sprinkler system can prevent your landscape from receiving the necessary amount of water it requires each day. At least once per year, you should take an afternoon to clean each head. Also, check for clogging or dirt accumulation regularly. In doing so, you’ll avoid so many issues.
Clogged Sprinkler Head Cleaning
Properly cleaning a clogged sprinkler nozzle is a relatively easy task. Any homeowner with a screwdriver can accomplish the job.
- Step 1 – A sprinkler head is inside of a sleeve, and you can lift the head out for cleaning. Lift the nozzle up into the position it would be in during operation.
- Step 2 – Unscrew the head and remove it from its sleeve entirely.
- Step 3 – Soak the sprinkler head in a bucket of hot water. Let it sit for a while. Doing so will loosen any debris built-up inside of the nozzle.
- Step 4 – Now, it’s time to clean the sprinkler sleeve itself. Clean any dirt or debris from within the sleeve to prevent reoccurring problems.
- Step 5 – Once the head has soaked in the bucket of water for a while, use a stiff wire to remove any dirt or debris from the nozzle holes. Much of the crud will be loosened from the soaking.
- Step 6 – Replace everything to its original position and test the system to ensure the now-clean sprinkler nozzle is working appropriately.
If at any time you feel uncomfortable pulling apart your sprinkler system, be sure to call in expert sprinkler repair to get the job done right.
You can reach Andy’s Sprinkler, Drainage & Lighting for sprinkler repair services nearby by calling your local office. Check out all our current locations to find an Andy’s near you!
